


.png)


2021-04-03
Interior design consultant Kristina felt that the bedroom far too "cold" and not harmonized with the original style of the older house. The solution was wall frames, decorations, and a brand new color scheme. The outvome: a more homely feeling.
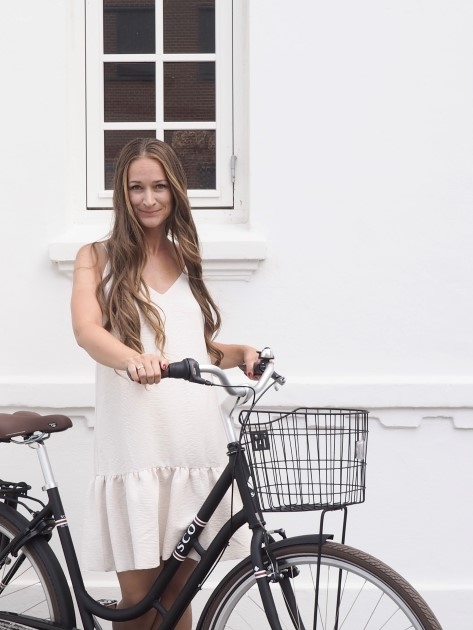
Name: Kristina Hede Fogsgaard
Family: Husband and two daughters
Age: 30
Occupation: Interior Design Consultant
Residence: Patrician villa in East Jutland, Denmark
Currently: blogs on rosemille.dk
Kristina Hede Fogsgaard works as an interior design consultant at Invita, a Danish company that sells custom-made exclusive kitchens. Kristina lives, together with her husband and two doors, in a 100-year-old Patrician villa in East Jutland, Denmark.
It was the original charm of the house that we fell in love with: all the ornate ceilings, and not least, the built-in bookshelf! Now we have lived here for 10 years and renovated a great deal over the years. We have tremendous respect for the original style of the house and have tried to maintain it through all the updates. It's a good thing that it's also my passion to renovate because having a home like this is really a life-time project.
Kristina's latest renovation project is a major transformation of the couple's bedroom.
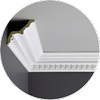
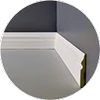
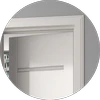
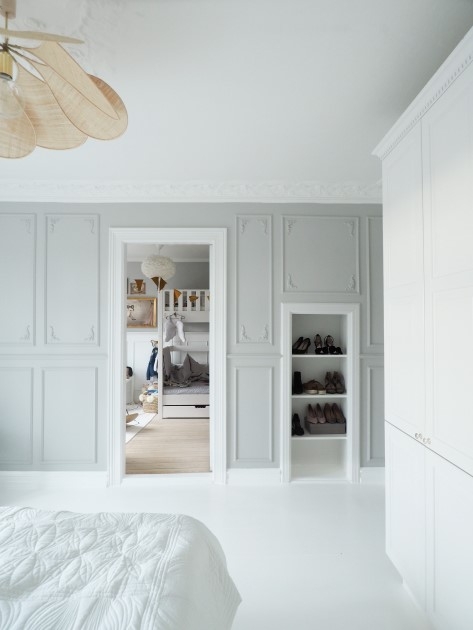
I have fantasized for along time about beautiful wall panels and develop them inside my head, to the point that every time I saw pictures of them on Instagram, Pinterest or in furniture ads, I almost started drooling. In the bedroom, there was already a larger, horizontal molding that went along the entire wall. The list made it easy to build on with wall frames both above and below. I added corners’ decorations to make it fit in with the house original details.
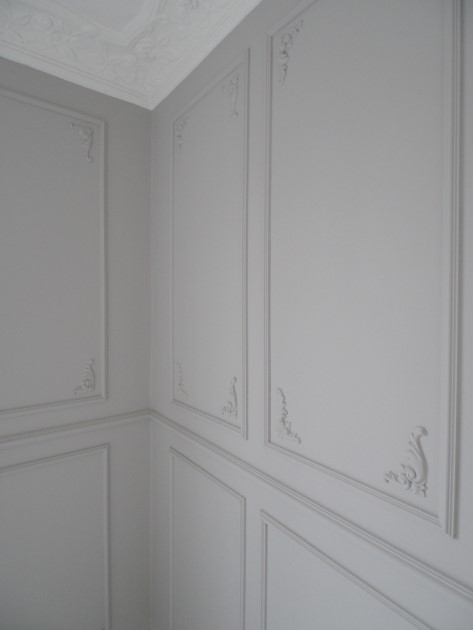
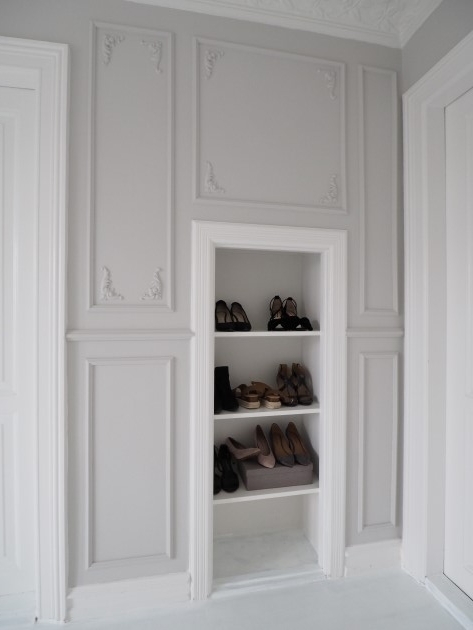
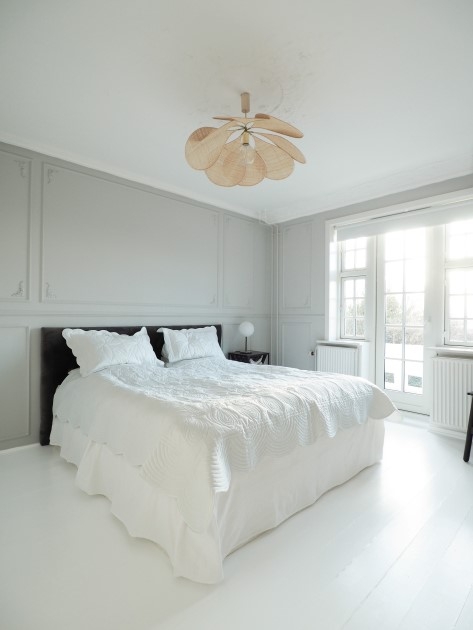
The basic problem with our bedroom was that it was, in my opinion, perceived as far too "cold", and the updating of the walls was part of a larger change. So, in addition to setting up the stucco, the walls had to be painted in a bright, warm, and gray color, which almost leaned toward beige. And the floor, which was previously gray, did not match to anything else, so it had to be repainted into white.
Do you have any tips for someone who is going to set up wall frames?
It is a good idea to begin by visualizing the ideas through, for instance, taking a picture of the room and walls and then drawing up the frames in Photoshop or the like. It gives a good overview of whether it gets too much or too little or if something needs to be changed. Spend a lot of time planning and ask D-cor for help with any question. I have received great of advice. The deliveries were prompt, and all products have been of good quality, which facilitated the work. It rubs off on the result, of course! Another tip is to make sure that you order the cutting box: it has really facilitated the work of setting up the moldings.
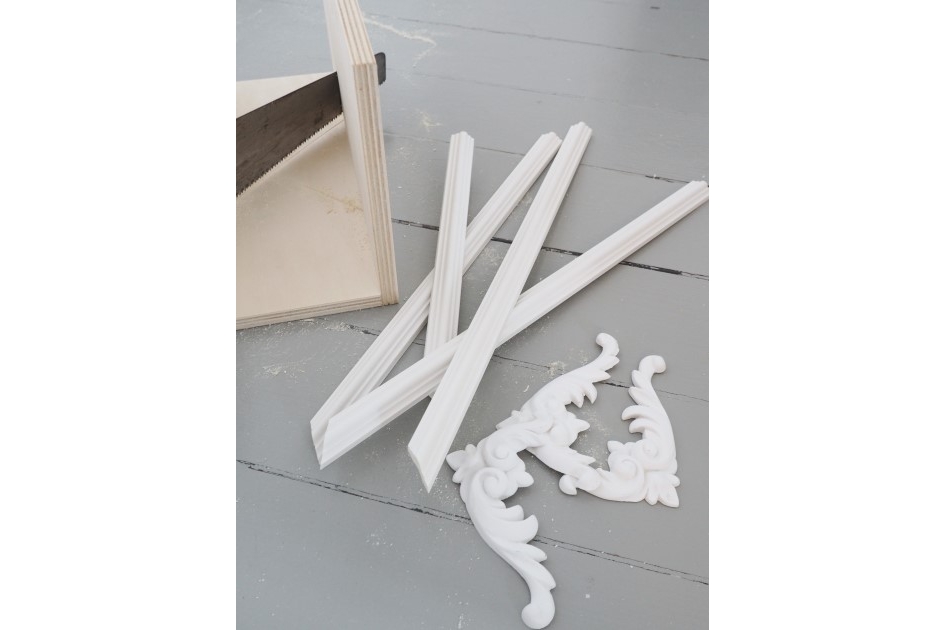
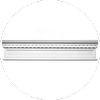
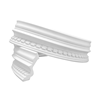
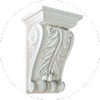
I chose a rather narrow molding, wall strip Wall Moulding Z354 , to build the square frames. I mounted them on both above and below the thicker middle strip. To give the panels extra character, I also added some decorative corner ornaments, the Ornament A360LR.
I actually chose to put up the moldings first before I made some of the other changes. This is because I was really looking forward to doing these, but also because it was clearly the most fun part since they represented the biggest change in the room.
How do you like the bedroom now?
Every time I get into the room, I turn happy. The room looks like the panels have always been there!
If you wish to see more of Kristina's beautiful villa, follow the continual renovation, or take part of other renovations or interior design tips. Visit the blog: www.rosemille.dk or follow @_rosemille on Instagram.