

.png)


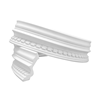


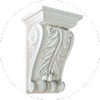


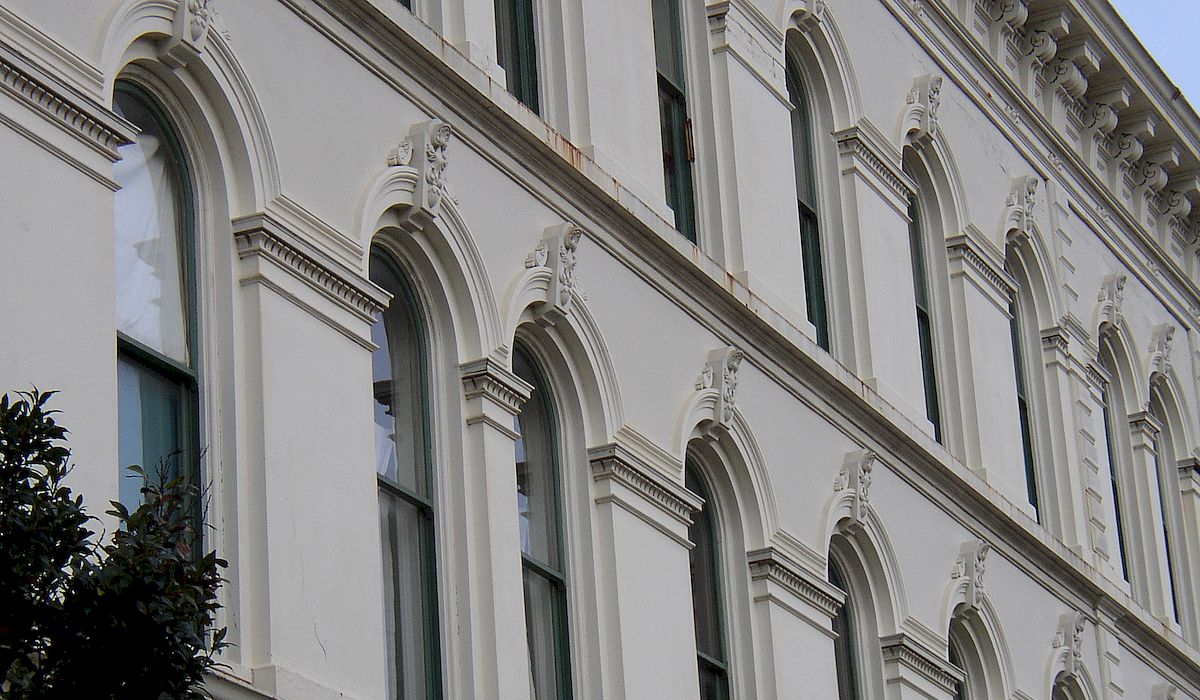
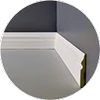
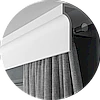
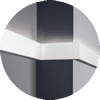
There are many different types of cornice available, which can easily be used to change the appearance of a home. They can be used to recreate older styles, to give the facade a more sophisticated appearance or to provide a sense of better proportions.
THE MATERIAL
In the past, cornice was primarily manufactured from plaster, but the disadvantage with this is that the cornice easily attracts moisture. However, thanks to recent developments in the building industry there are now other alternatives available. Our products for facades are developed using advanced computer technology and by using tried and tested materials that ensure a long life and a high-quality appearance.
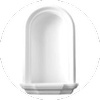
The interior
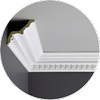
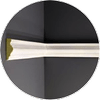
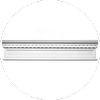
The cornice interior, or core, is made from high impact polystyrene, while the exterior surface has a protective coating reinforced with glass fibre reinforce concrete, which is applied in an approx. 2 mm thick layer to keep the surface durable, waterproof and properly weather resistant.
Advice:
Installation must not be performed if the outdoor temperature is below 5°C all day, the recommended humidity is max. 50%, the recommendations apply to the entire installation and drying time.
Product storage:
Never store the products without their packaging and on top of each other, as incorrect storage can cause damage to the products
Do not store the products on an uneven surface, against a wall, in a location where the dimensions are smaller than the product or in direct sunlight.
Things to think about before installation:
Ensure that the base can hold the weight of the cornice, that it is free from building mortar, salt bloom, mould and other potential contaminants. The base must be dry and protected from moisture. To maximise the absorbing capacity of the base, we recommend priming the area where the cornice will be fitted.
Prime and apply adhesive to the surface, when applying adhesive, keep in mind that the grooves from the filling knives must lie along the prepared surface.
Press the cornice with the cornice adhesive against the base, continue pressing until the adhesive forms a solid contact with the base. Use additional adhesive when necessary. Double check the horizontal position of the cornice using a spirit level.
After the cornice has been glued to the base, apply joint adhesive on the joints. Finish by painting over the cornice with the acrylic paint of your choice.
Tools/materials required for installation:
- Drill
- Hole punch
- Drill for plugs
- Metal tape
- Saw
- Mitre box with fine tooth saw
- Spirit level that is 2-2.5 metres long
- Plumb
- Hammer
- Carpenter’s pencil
- Acrylic paint
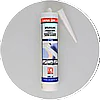
- Glue
- Joint compound
EASY TO INSTALL
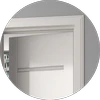
Those wishing to invest in exterior cornice are often surprised by how easy they are to install. The only thing that is required is facade adhesive, foam and normal hand tools. In nearly all cases, glue is the mandatory fastener, as it provides a firm, gap-free adhesion of components to the base. Other adhesive components can be applied if needed, which is determined by considering the weights and dimensions of the facade mouldings.
If necessary, and to avoid causing damage to the surface, holes can be drilled, and the fastener can be mounted on the base before gluing. Use fasteners with sleeves if the cornice thickness is greater than 10 cm. Ensure the fastener does no reach the 2-3 mm outer layer.
- Smaller exterior cornice that is max. 10 cm deep can be glued.
- Medium sized exterior cornice that is 10-35 cm can be installed using both glue and plugs. If the cornice is to be placed above the window, a steel sheet should be fitted above the cornice to lead water away. The steel sheet and the cornice must be sealed using joint compound.
- The same installation instructions as for medium sized cornice apply to large exterior cornice sections measuring over 35 cm in length. The exterior cornice must have its own support structure.